This tutorial will show you how to install Japanese input IME (日本語入力方法) in Linux Mint 14 under the MATE desktop environment. Japanese IME is required to be able to type in Japanese. It is pretty easy to get working, so let’s start.
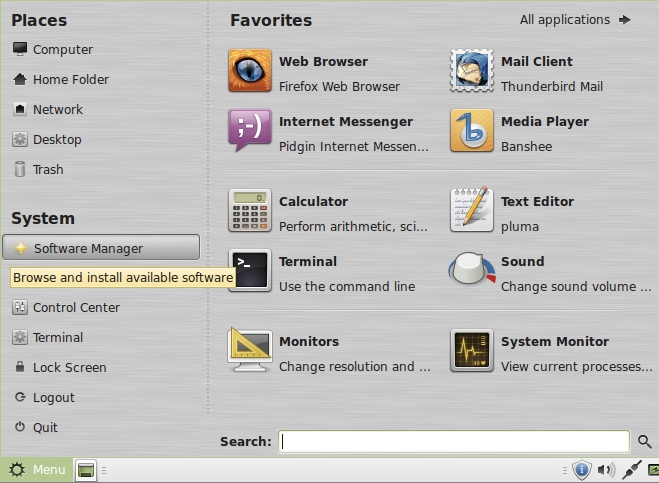
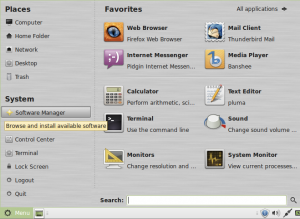
Click on the Mint Menu and select System → Software Manager.
In the Enter your password to perform administrative tasks dialog box, enter your system password and press OK.
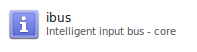
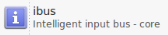
In the Software Manager, search for ibus.

Select ibus by double clicking it.
Click Install.
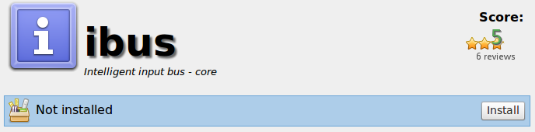
Software Manager will now download and install IBus in the background.

While IBus is installing, search for anthy.

Select ibus-anthy by double clicking it and click Install.
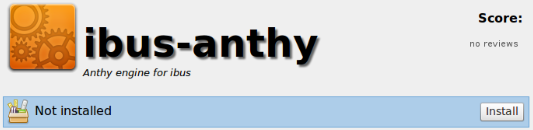
Software Manager will now download and install ibus-anthy in the background.
When the activity bar on the bottom shows 0 ongoing actions, installation is complete.

Close Software Manager.
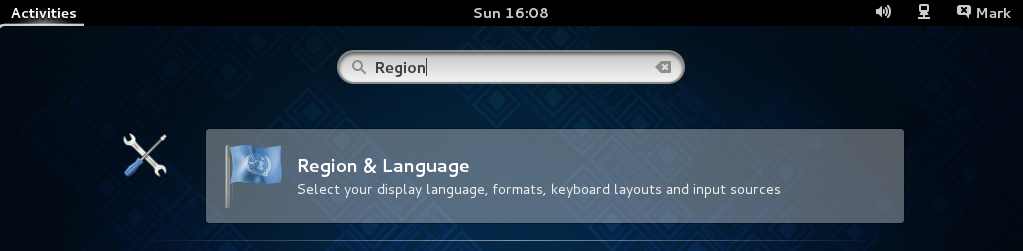
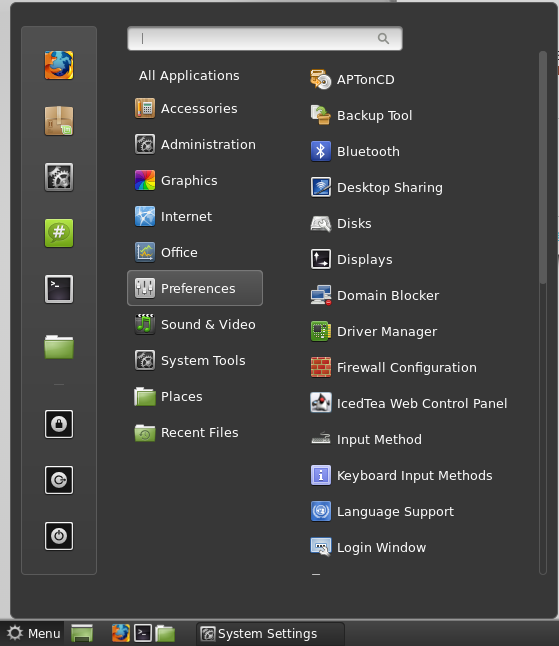
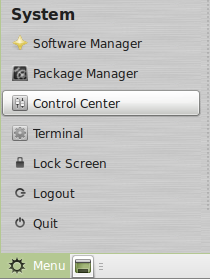
From the Mint Menu, select to System → Control Center.
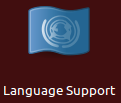
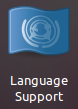
Open Language Support.

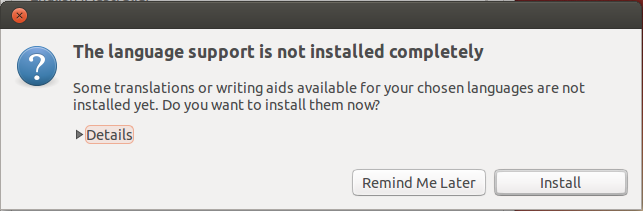
If you get the dialog box that says The language support is not installed completely, select Install to install them now.
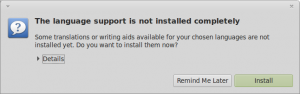
Note: You may get an error when trying to Install at this point. Continue on anyways, as it seems like a bug in Mint and still lets you install Japanese input method.
In the Authenticate dialog box, enter your system password and press Authenticate.
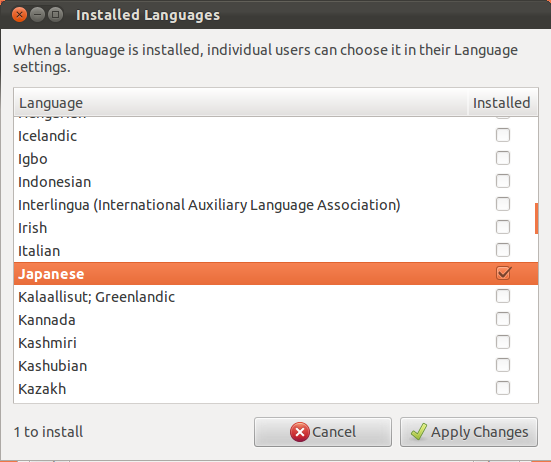
On the Language Support screen, select Install / Remove Languages….

Scroll down and check Japanese, and then press Apply Changes.

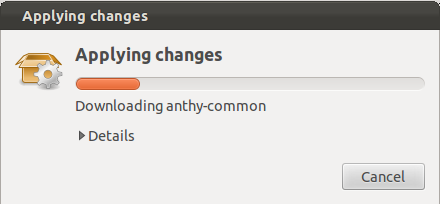
The Applying changes popup screen will display. Wait for it to finish applying changes. It may take a few minutes.
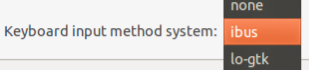
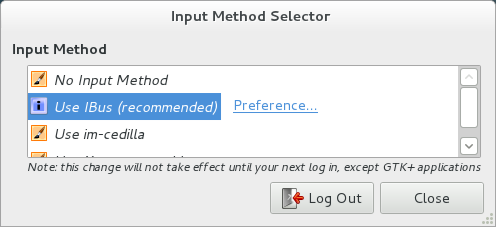
On the Language Support screen, press the Keyboard input method system: drop down and select ibus.

Then press Close.
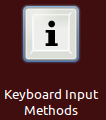
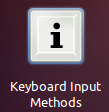
On the Control Center screen, scroll down and select Other → Keyboard Input Methods.

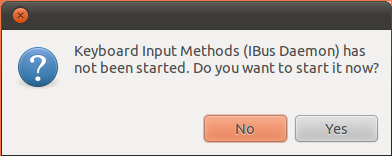
You may get a popup dialog box that says Keyboard Input Methods (IBus Daemon has not been started. Do you want to start it now? Select Yes to start IBus.
The IBus daemon is now started and the IBus preferences screen will now display.
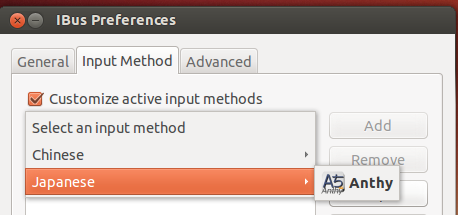
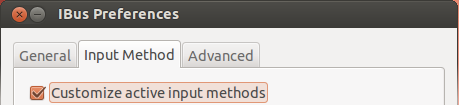
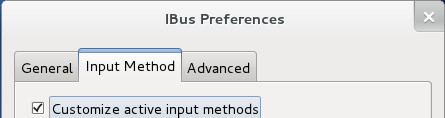
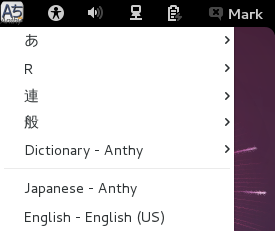
On the IBus Preferences screen, go to the Input Method tab.
Select the Customize active input methods check box.

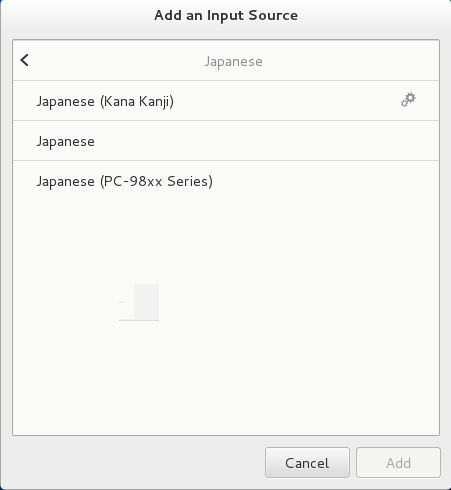
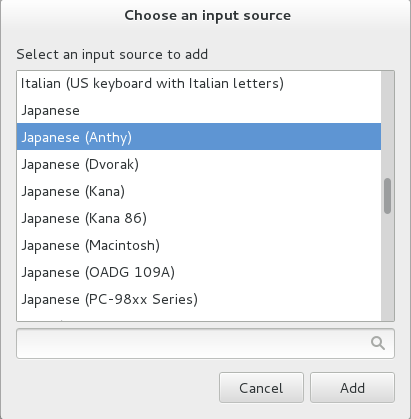
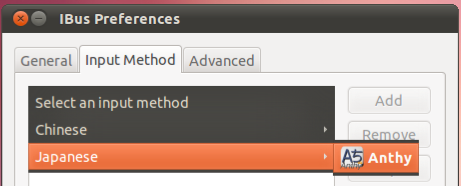
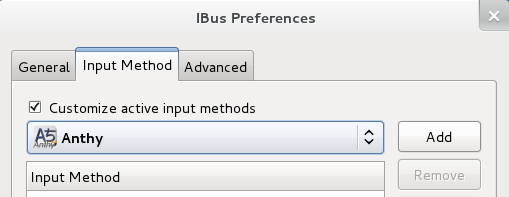
Press the Select an input method dropdown and select Japanese → Anthy.
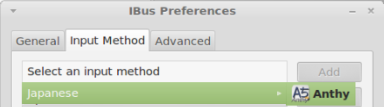
Press Add on the IBus Preferences screen to add the Anthy Japanese input method.
Press Close to exit the IBus Preferences screen.
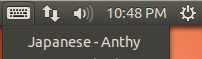
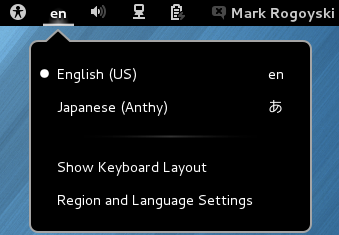
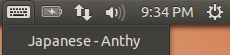
You should now have a keyboard input method icon displayed in the bottom panel.

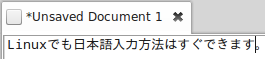
Open a text application like Text Editor.
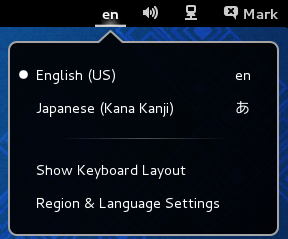
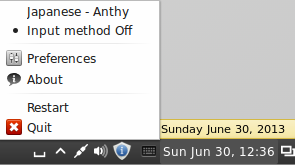
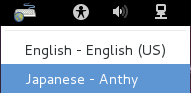
Click the keyboard icon and select Japanese – Anthy.

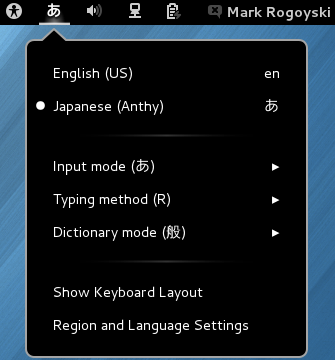
The IBus keyboard icon should have changed to the Anthy Aち icon. If it does not show up, log out and log back in. It should now show up. I recommend logging out and logging back in just to make sure it starts properly. It may show up but give you a No Input Window error if it doesn’t start up properly. You can also try to restart Ibus from this menu.

Anthy is now activated. To toggle between English and Japanese input, press Control + Space Bar. The IBus icon will now change to the Anthy Aち icon, indicating that you can type in Japanese.
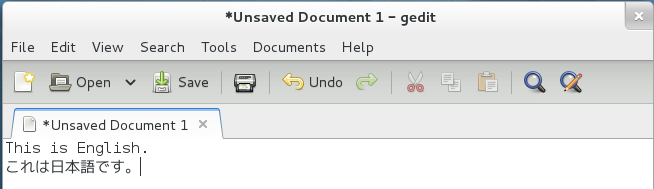
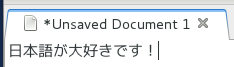
That’s all there is to it. Now you can type in 日本語.
Note: Sometimes the input method reverts back to English if you are changing back and forth between windows and applications. Just press Control + Space Bar to toggle back to Anthy if this happens.