


This tutorial will show you how to set up Japanese input IME (日本語入力方法) on Ubuntu Linux 16.04 from the Unity interface so you can type in Japanese in all your favorite Ubuntu applications.
Setup Procedure
To start, select Dash home from the Unity Launcher.

From the Dash home, search for Language Support.
![]()
Select Language Support.
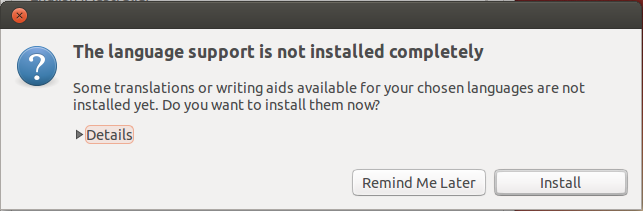
Note: If you get the language support is not installed completely dialog box at this point, press Install to install them now.
On the Language tab of the Language Support screen, press Install / Remove Languages…
![]()
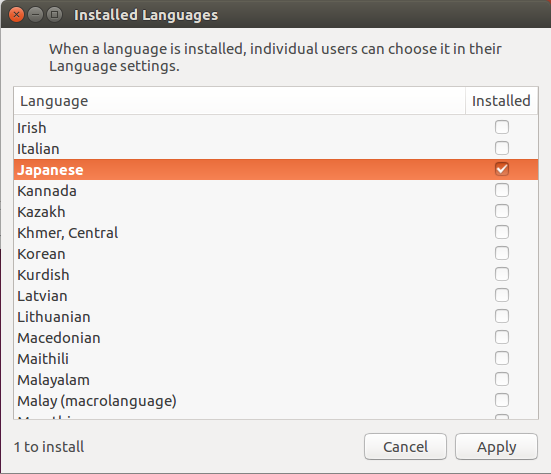
On the Installed Languages screen, scroll down to Japanese and check Installed, and then press Apply.
Enter your password on the Authenticate screen.
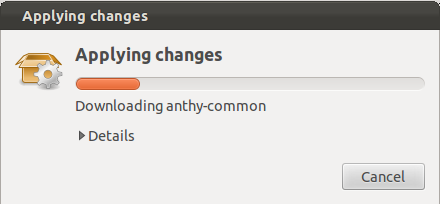
It will take a few moments to download and install the Japanese IME packages.
Back on the Language Support screen, select IBus for the Keyboard input method system, and then press Close.
![]()
For these settings to go into effect, you must log out and log back in.
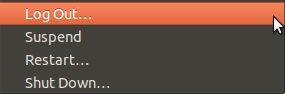
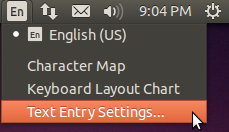
After logging back in, click the language icon from the top panel and select Text Entry Settings…
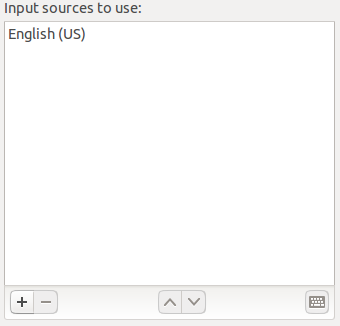
On the Text Entry screen, click the + icon on the button left of the Input sources to use area.
On the Choose an input source screen, scroll down and select Japanese (Mozc) (IBus).
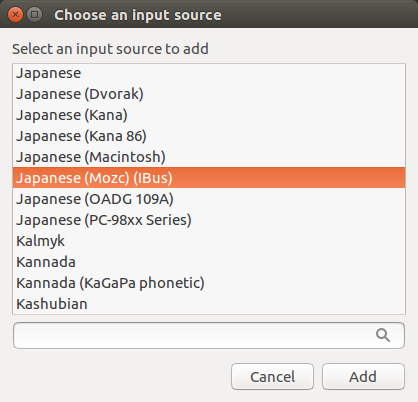
Press Add.
The Japanese Mozc input method will now be available from the language icon in the top panel.
Open up any application with a text box such as Text Editor and place the cursor in the text box.
Press the language icon on the tap panel and select Mozc.
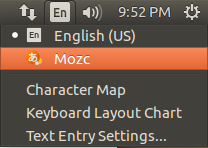
The language icon will now change to the Mozc あ icon.
![]()
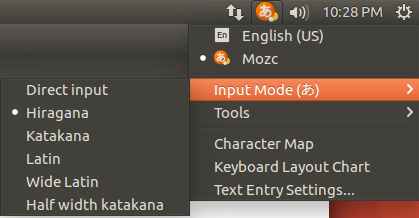
Press the Mozc あ icon to select the desired Japanese input mode.
That’s it. You can now type in Japanese in Ubuntu 16.04. お疲れさまでした。
ありがとうございます!